To stack, or not to stack? Most astrophotographers will agree it’s necessity with deep sky images, but is it really necessary for lunar imaging when the moon is so big and bright in the sky? There are a lot of single frame photos of the moon that show incredible detail, so is it really worthwhile going through the process of taking dozens, or even hundreds or thousands of images and then stacking them? Are the results really that visible? In this article, I we’ll go through the process of stacking a lunar image and see the results at each step along the way.
WHAT IS STACKING?
Stacking is a very familiar process to most astrophotographers. Unlike the days of film, there are no longer single 30+ minute exposures of celestial objects taken. These days, several shorter exposure are stacked together to create a final image.
Stacking – whether for deep sky or solar system – is the process of taking multiple images of the same object and digitally combining the images to increase the signal to noise ratio. With each additional stacked image, more signal is added to the final image while background noise is reduced. Those process of stacking deep sky and solar system images is completely different, but the end goal is the same – to bring out as much fine detail in an image while cancelling out digital noise.
This article will be focusing on lunar stacking. In this case, I won’t be covering the fine details of how to use each and every program used in the process, but will talk about the basic workflow that applies to any software you do this with.
THE PROCESS
These are the major steps involved in processing a solar system image. The mechanics of processing the moon, sun, or planets vary slightly in process and equipment, but they all contain these steps. There are different software programs that take care of each step, each requiring its own unique processes, but these are the main steps required.
Acquisition
Pre-processing
Stacking
Sharpening
Post-processing.
Acquisition
It all starts with taking your pictures. Solar system imaging is generally done with a dedicated webcam type camera attached to a telescope instead of a DSLR, and the camera shoots video instead of still frames. Since solar system objects are very bright compared to deep space objects, exposures of more than a few fractions of a second will blow them out completely. These webcams will typically shoot exposures of 30 to 100 frames per second, or 1/30th to 1/100th of a second. Generally, this is also the method used with a DSLR. The camera is set to capture high frame rate / low resolution video like 30-60 fps at 640 x 480 resolution. Planets are so small that they are still tiny in the field of view at that resolution. Planetary imaging is very difficult with a DSLR at prime focus and generally not recommended.
The moon, however, is a much bigger target. Using such a webcam results in very high magnification views of the moon. Craters will be seen in astounding detail, but if you wish to see the entire moon, a DSLR is the only way to go unless you want to take potentially dozens of videos, stack them into images and then create a full panorama of the moon.
For this lunar image, I used a Nikon D5100 attached to an Explore Scientific 80ED apochromatic telescope mounted on a Celestron Advanced VX mount. Tracking isn’t necessarily required to shoot the moon. You can also shoot the moon easily with a 300+mm lens on a stationary tripod. Since you won’t be tracking, you’ll have to manually readjust your framing from time to time to keep the moon in your field of view. You can also shoot the moon with a manually tracked telescope on any type of mount. Once again, you’ll need to readjust your framing every so often to keep the moon in frame.
For this project, I shot 470 images of the moon. My camera was set at ISO 100 with exposures of 1/160 of a second. I also shot 10 dark frames (images shot at the same setting but with lens cap on) to reduce noise. I could easily have also shot HD video of the moon at 30 fps with the same exposure settings and used the resulting video to process in the next step. Or for faster acquisition, I could have used my D750 at 60 fps. The end result would have been the same.
This is the RAW file as it came off the camera converted to JPG without any editing. The moon occupies a rather small space near the centre of the frame. It’s quite bright and very detailed. Many people would proudly share such an image online with little to no other post-processing and be quite happy with it. And rightfully so too. It’s a great image with sharp focus and good brightness. But with some processing work, we can do much better than this.
NOTE: If you’re using a DSLR, make sure to always shoot in RAW mode and never in JPG. And if you’re not dealing with video files, use TIFF as your intermediary format and only save out a JPG at the very end for your final image to share online. You want to maintain the highest possible quality through your workflow.
 |
| Original, unprocessed RAW image converted straight to JPG. |
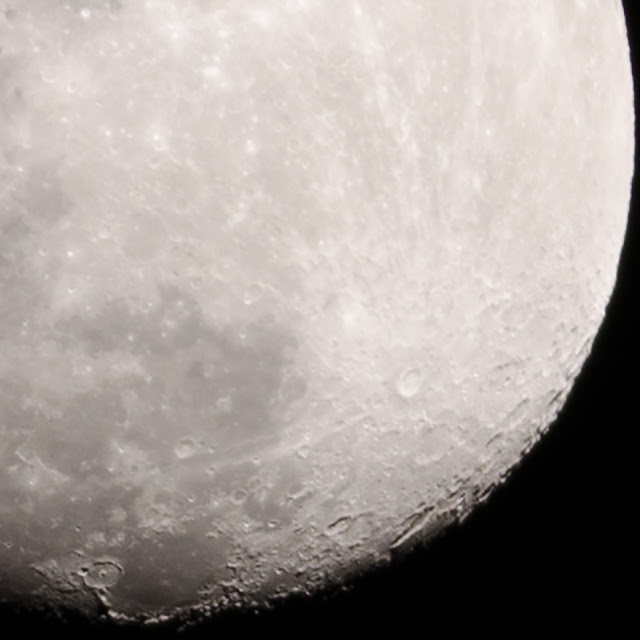
But zooming in on said image and examining it closer, fine detail shows that there is some visible pixellation and noise. Fine details such as craters are a bit blurry due to atmospheric distortion. And since the moon is so bright due to its advanced waxing gibbous stage, there’s very little contrast between light and dark areas.
 |
| Heavy zoom showing pixellated detail and noise. |
Pre-Processing
The first step to preparing your images is to align your frames, crop them to size, and normalize the brightness. When shooting with a tracker or equatorial mount, alignment isn’t as critical. If your polar alignment and tracking are accurate, your target should be in the centre of the field of view throughout the entire series of images. However, if you were shooting full resolution stills instead of a video, you’ll see that the moon is but a small object in the centre of your image covering an area of anywhere from 800 x 800 to 1000 x 1000 pixels. Processing full 10+ MP still photos will take a LONG time, so this pre-processing step will save you a lot of time.
Not that even when shooting HD video at 1920 x 1080, you’ll still have a lot of black space on either side of your target. Pre-processing will remove this dead space making for much faster alignment and stacking.
For pre-processing, I use PIPP – Planetary Imaging PreProcessor. This free program is available for Windows, Linux and MacOS and I highly recommend it to anyone shooting and stacking images of solar system objects.
I loaded my images and my dark frames in their respective spots under the Source Files tab in PIPP. Since I put in a series of images, it automatically selected Join Mode since these are all pics of a single object. And I also selected the Solar/Lunar Full Disc under the Optimise Options For section. This is pretty self-explanatory.
From the Processing Options tab, I chose to stretch the histogram to 75% and set the black point to 0%. This reduced the overall image brightness a bit and ensured that all my different frames were at the exact same brightness and set my background to black. In this tab, I also chose to crop the image to 1200 x 1200. This left me the moon nicely framed with a bit of space around it.
From the Quality Options tab, I selected Enable Quality Estimation and Reorder Frames in Quality Order check boxes This will order the images from highest to lowest quality for later stacking.
From the Output Options tab, I chose the output format to be TIFF, which saves a series of TIFF files. AVI output is the default option and is perfect for lower resolution final images or 640 x 480 video, But I find larger video files sometimes don’t play nice with other stacking software, so I prefer saving images taken with my DSLR as TIFF. But either way should work.
Then finally, I ran the whole process. And this is the resulting image. This is just a single out of 470 frames that was exported from PIPP. The moon is nicely centred and the brightness neutralized. This will be the series of images that will imported in the next step for stacking.
| Original shot – 16 MP RAW file converted to TIFF and cropped to 1200 x 1200 |
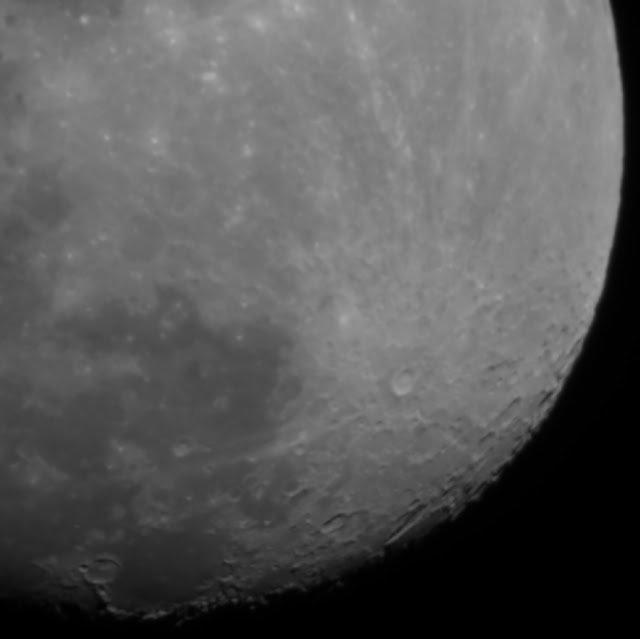
Examining this zoomed-in section, you can see that the noise and pixellation that visible in the previous stage is gone. PIPP performed the dark frame subtraction from each individual image lowering noise levels significantly, It looks far smoother than the previous stage. Detail is still fuzzy and not very sharp, but the pixellation caused by the noise has been removed.
 |
| Heavy zoom showing smoothed detail and no noise |
Stacking
Next comes the process of stacking the individual frames. There are several free programs for Windows, but I’m not personally aware of any available for Mac. There is a long, more painful way of doing this in Photoshop, but it’s very time-consuming and the steps are way beyond the scope of this article.
The 2 leading free programs used are Registax6 (RS6) and AutoStakkert!2 (AS2). RS6 is a favourite of many because it does both the stacking and sharpening stage. It’s basically an all-in-one tool for your solar system processeing, whereas AS2 only stacks. But more on sharpening later.
When stacking, the software will analyze each frame for quality. Since all my shots were of exceptional quality (all rated 98%+ in PiPP), I told AS2 to stack the top 90%, for a total of 414 frames.
This is the resulting image with everything stacked. Looking at the full image of the moon, you see it’s brighter than a single source frame. It’s completely smoothed out, is noise-free, and small details that were fuzzy and still pixellated in the last step are showing fine detail that wasn’t visible before.
| 400 stacked frames |
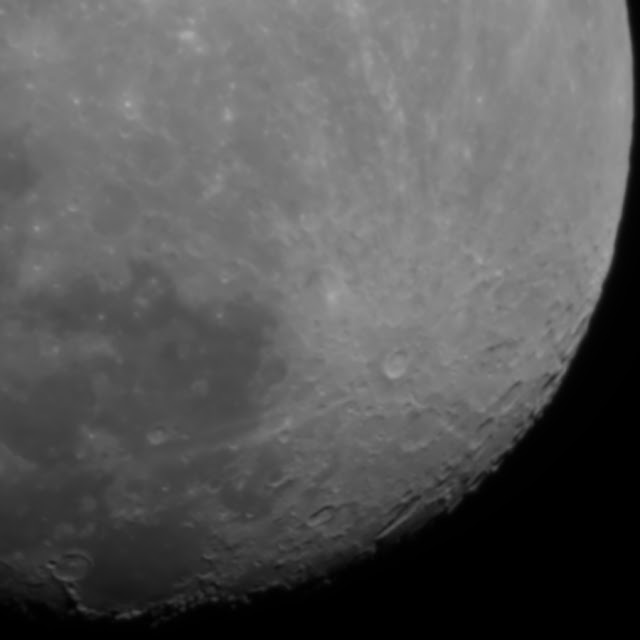
At this stage, the fine detail still looks a little fuzzy, but you can see that there’s no noise, and fine detail that wasn’t visible in the original pre-processed image is now visible, albeit a little blurred. The image now needs to be sharpened to bring that fine detail into focus.
 |
| Zoomed in view of stacked image. |
Sharpening
Sharpening is the act of deconvolution an image to deblur it. There are a couple of ways this can be done. This most common method is through wavelet sharpening using RS6. The other is using a deconvolution filter.
As I mentioned earlier, RS6 is the best free option out there for this process, which makes it a good all-in-one package. You can go right into sharpening after stacking. Or alternately, you can import an image file that was stacked in another program for wavelet sharpening. I won’t go into details on the mechanics of using RS6. There are lots of videos on YouTube that can explain how it works far better than I can. But this will be the method that most people will use.
For deconvolution, there are no free options that I’m aware of. I use Astra Image. which costs $29.95 US. And there are some paid Photoshop plugins that will do this as well. I can’t recommend any of them, as I haven’t used them personally.
For this image, I opened my stacked image in Astra Image and ran the Deconvolution for Sharpening filter, From this, I chose the Lucy-Richardson Deconvolution and adjusted it accordingly, And this was the result. On this large scale, you can see fine details in the surface that weren’t visible at any of the previous stages. Large structures like craters, peaks and valleys are clearly visible. There’s far more visible relief on the surface detail than you could see before.
| Stacked image deconvoluted in Astra Image |
The same area zoomed in shows incredibly fine detail. Small rilles and craters are clearly visible. crater Clavius and its smaller craters pop out distinctly. The ridge on the edge of Tycho is clear and sharp. The image is clear, crisp and noise-free. At this point, all that’s left is final cosmetic touch-ups in Photoshop.
Post-processing
This is where the final touch-ups are made in terms of colour, brightnesses and balance. This last step is where some artistic licence comes in. This can be done in Photoshop, Lightroom, or whatever other software you normally use.
For this, I opened the my file in Photoshop CC and opened up Camera Raw. I made the appropriate adjustments to exposure, contrast, highlights and shadows, to my personal taste just as I would do in Lightroom and applied my DAA watermark. And the final image is now complete.
| Final image with some correction in Photoshop. |
And as you can see in this same section zoomed in on the final image, the details just jump out. The contrast between light and dark areas is much more distinct. Small craters everywhere stand out. Ejecta lines that were washed out in the source images show up in clear detail.
THE RESULTS
So I think the original question has been answered. Stacking is definitely worth it on lunar images shot with a DSLR. Regardless how good your camera, equipment or technique is, you can’t match the results of a stacked image in a single frame. Sure, you can get some great single images of the moon, but you just can’t compete with a well processed, stacked image in terms of fine detail.
Hopefully this will be of help to aspiring astrophotographers who want to take great shots of the moon.
And as always, clear skies, and keep those eyes and lenses pointed up!


3exodus
gay chat rooms on aol town square https://bjsgaychatroom.info/
gay online chat sites https://gaytgpost.com/
b-gay chat https://gay-buddies.com/
dating a gay porn star https://speedgaydate.com/
double diamond slots https://2-free-slots.com/
free slots online https://freeonlneslotmachine.com/
real penny slots https://candylandslotmachine.com/
slots of vegas https://pennyslotmachines.org/
fortune slots free online https://slotmachinesworld.com/
slots inferno https://slotmachinesforum.net/
borderlands map slots https://slot-machine-sale.com/
online slots real money https://beat-slot-machines.com/
casino 888 free slots https://download-slot-machines.com/
5.oo slots machine casino https://www-slotmachines.com/
dissertation only phd https://buydissertationhelp.com/
academic dissertation help https://dissertationwriting-service.com/
writing dissertation proposal https://help-with-dissertations.com/